Building a robust home network will give you all the speed and coverage your devices of today and tomorrow need to operate at their fullest. It doesn’t have to be complicated either, as with a few key pieces of hardware and a little perseverance, you can access the internet from anywhere in your home, transfer files and folders around at unbelievable speed, and remain secure from outside threats with the most up to date protections.
Here’s how to set up a home network, no matter your level of expertise.
1. Setting up a Home Network: How it Works
2. Wired vs. Wireless Home Network
3. Extending Your Home Network Range
4. Home Network Cables: What do you need?
5. How to Set Up a Home Network
6. Extra Home Network Tips
Setting up a Home Network: How it Works
There are several key components in a home network: the modem, the router, any extensions you may need, Ethernet cables for wired connections, and the devices you’ll be connecting. Which hardware is right for your particular network will depend on the number and kinds of devices you want to connect, but there is a bare minimum of hardware you will require.
The first and most important is a modem. This is the piece of equipment that connects your network to the phone line and gives you access to the internet. These are almost invariably supplied by your internet service provider and may be incorporated into a router. If you want your home network to connect to the internet, it is absolutely fundamental and the first key piece in your home network.
Since a modem can only connect one device to the internet, you also need a router. That acts as both a hub to connect your various wired and wireless devices to the network, but also provides a level of security to your connection by password protecting its access, or using a firewall to block certain types of network traffic. It can also help funnel data to certain devices and allow multiple devices on the network to send data to one another, as well as access the internet as a whole through the modem.
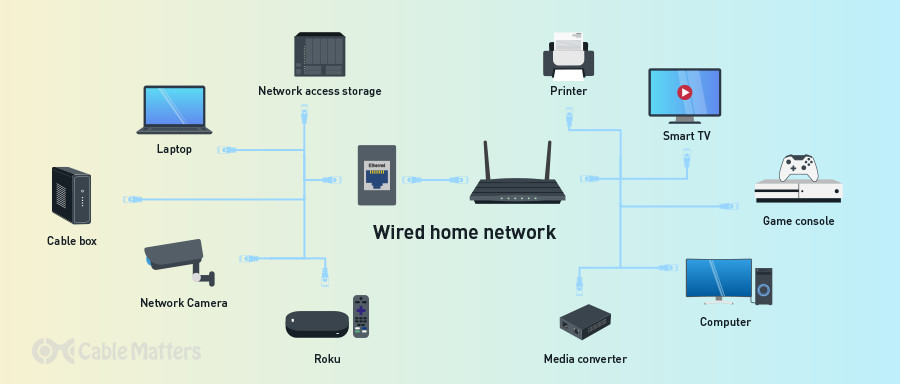
Most modern routers support both wired and wireless connections. If using the former, you’ll have a device like a desktop PC, games console, TV, or laptop, connected to it using a wired Ethernet cable. There are a wide range of different Ethernet cables with different performance and signal integrity features and specifications to consider. For devices without Ethernet connections, there is always the option of using a USB adapter to add that port option. Cable Matters has a range of options to help get any and all devices on to your home network.
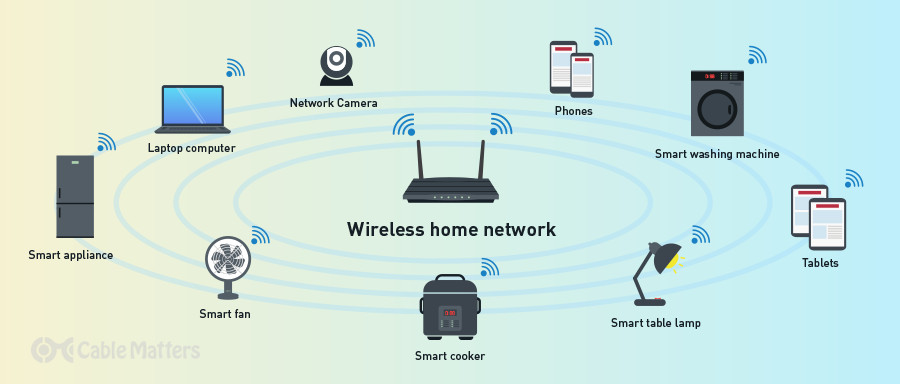
Wireless devices can connect to the router as long as they have the signal to do so. That is dependent on the router’s range and coverage, as well as its supported Wi-Fi generation. Range can be extended through the use of repeaters, or using a mesh network.
Wired vs. Wireless Home Network
Wired and wireless networks are two sides of the same coin, as most routers offer both, so it isn’t a case of choosing one or the other when buying your router. That said, which connection you use will depend on the devices and their own capabilities, and the way you like to use them.
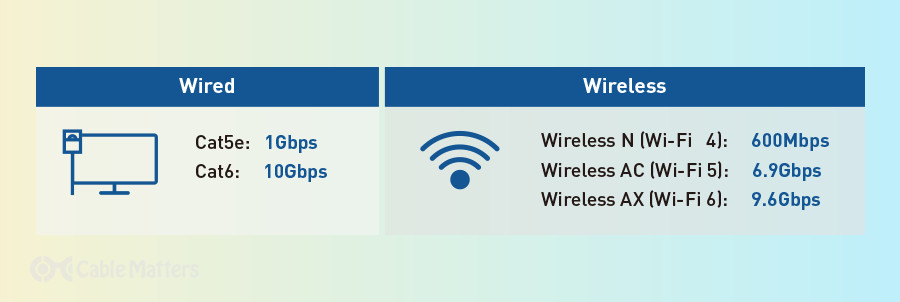
Wireless networks have gone from strength to strength over the past two decades and now rival wired networking in maximum potential performance. The latest generation, Wi-Fi 6 (802.11ax) has a theoretical maximum bandwidth of 9.6 Gigabits per second or around 1,200 Megabytes per second. That’s just as fast as the most high-end Ethernet connections, although it is unlikely that such speeds will be realised reliably, even in near ideal circumstances.
More important than speed, is Wi-Fi 6’s ability to handle many more devices on the same network across multiple channels. It helps reduce network congestion, ensuring more devices can operate at near-peak performance whether they’re transferring files across the network, or streaming content from the internet.
Unfortunately, Wi-Fi 6 is restricted to new and high-end routers, and very few wireless devices support it. More commonly you’ll find Wi-Fi 5 (802.11ac) supported, which is still fast, with a theoretical maximum speed or 3.5 Gigabits per second, or 438 Megabytes per second. It’s not as capable at handling large numbers of users on the same network either, but that’s more of a concern for those with more than a handful of simultaneous users, especially if they’re using their devices in close proximity.
Wired home networks, on the other hand, have no such issues with congestion and can much more easily maximize network performance, with the only real limitations being the speed of their network interfaces, and the Ethernet cables used to connect them. Ethernet cables also don’t suffer from signal degradation in the same way as wireless networks, and can be routed through walls (you can even use your existing internal wiring for a powerline Ethernet connection).
For the fastest, most reliable connection, wired Ethernet cables still provide the best solution, but they’re not easily portable or as versatile as wireless. That makes a wired home network best suited for static devices like games consoles, TVs, and desktop PCs. For smartphones, tablets, laptops, and internet-connected smart devices, a Wi-Fi connection is usually the best solution.
Extending Your Home Network Range
Wired and wireless home networks have their limitations. Wireless networks can be inhibited by intervening walls, pillars, or furniture, leading to spotty signals and reduced bandwidth. They also have a maximum range even in open space, especially at higher bandwidths and on higher frequency channels, like 5GHz.
Wired connections can face physical barriers of their own if you aren’t willing to route cables through your home, or put holes in your walls to create a shortcut for the cables. You can also run out of Ethernet ports on your router, making it harder to connect all the devices you want to the network.
To improve the range of your wireless home network, you can use wireless repeaters to amplify and re-transmit your Wi-Fi signal, effectively extending its range. Some of these devices include dual wireless routers, passing the signal between them before sending it on, whereas some use a powerline connection which is then converted into a wireless signal at the other end.
Another option for large Wi-Fi networks are mesh routers, which use multiple access points and smart routing of the signal to provide the best performance depending on where you are in your home and the particular needs of your device. They can be more expensive to setup in the first place, but offer larger homes great coverage throughout the entire property.
Ethernet networks are only limited in the range of the cables that support them, which can extend up to 300ft or beyond in the case of active cables, so you’re unlikely to run into the same issues. However, if you don’t want to drill holes in the wall, you can use existing wiring in the form of powerline adapters, or Multimedia over Coax (MoCA) which uses the same cable as your TV, to expand your wired home network wherever you need it.
If you’re running low on Ethernet ports at your router, there are multi-port adapters you can use, or just add a switch to your home network to give you all the Ethernet ports you need
Home Network Cables: What do you need?
Network cables come in a few different shapes and sizes, most notably designated by their Category, or Cat numbering. The most current and popular Ethernet cables are Cat 5e and Cat 6, which represent some of the best options for home network users. They offer up to 1 Gigabit, and 10 Gigabit connections, respectively, with Cat 6 cables providing slightly better shielding. Cat 6e goes even further on that front, but that’s only really necessary if you’re routing cables in very electrically busy environments, where the signal may be disrupted by background noise.
One of the great things about Ethernet cables, is that you can actually make them yourself fairly easily. If you’re planning an expansive home network with hundreds of feet of cabling, it can be worth it to buy a spool of bulk Ethernet cabling and add the RJ45 end plugs yourself. Check out some of Cable Matters' options for cables.
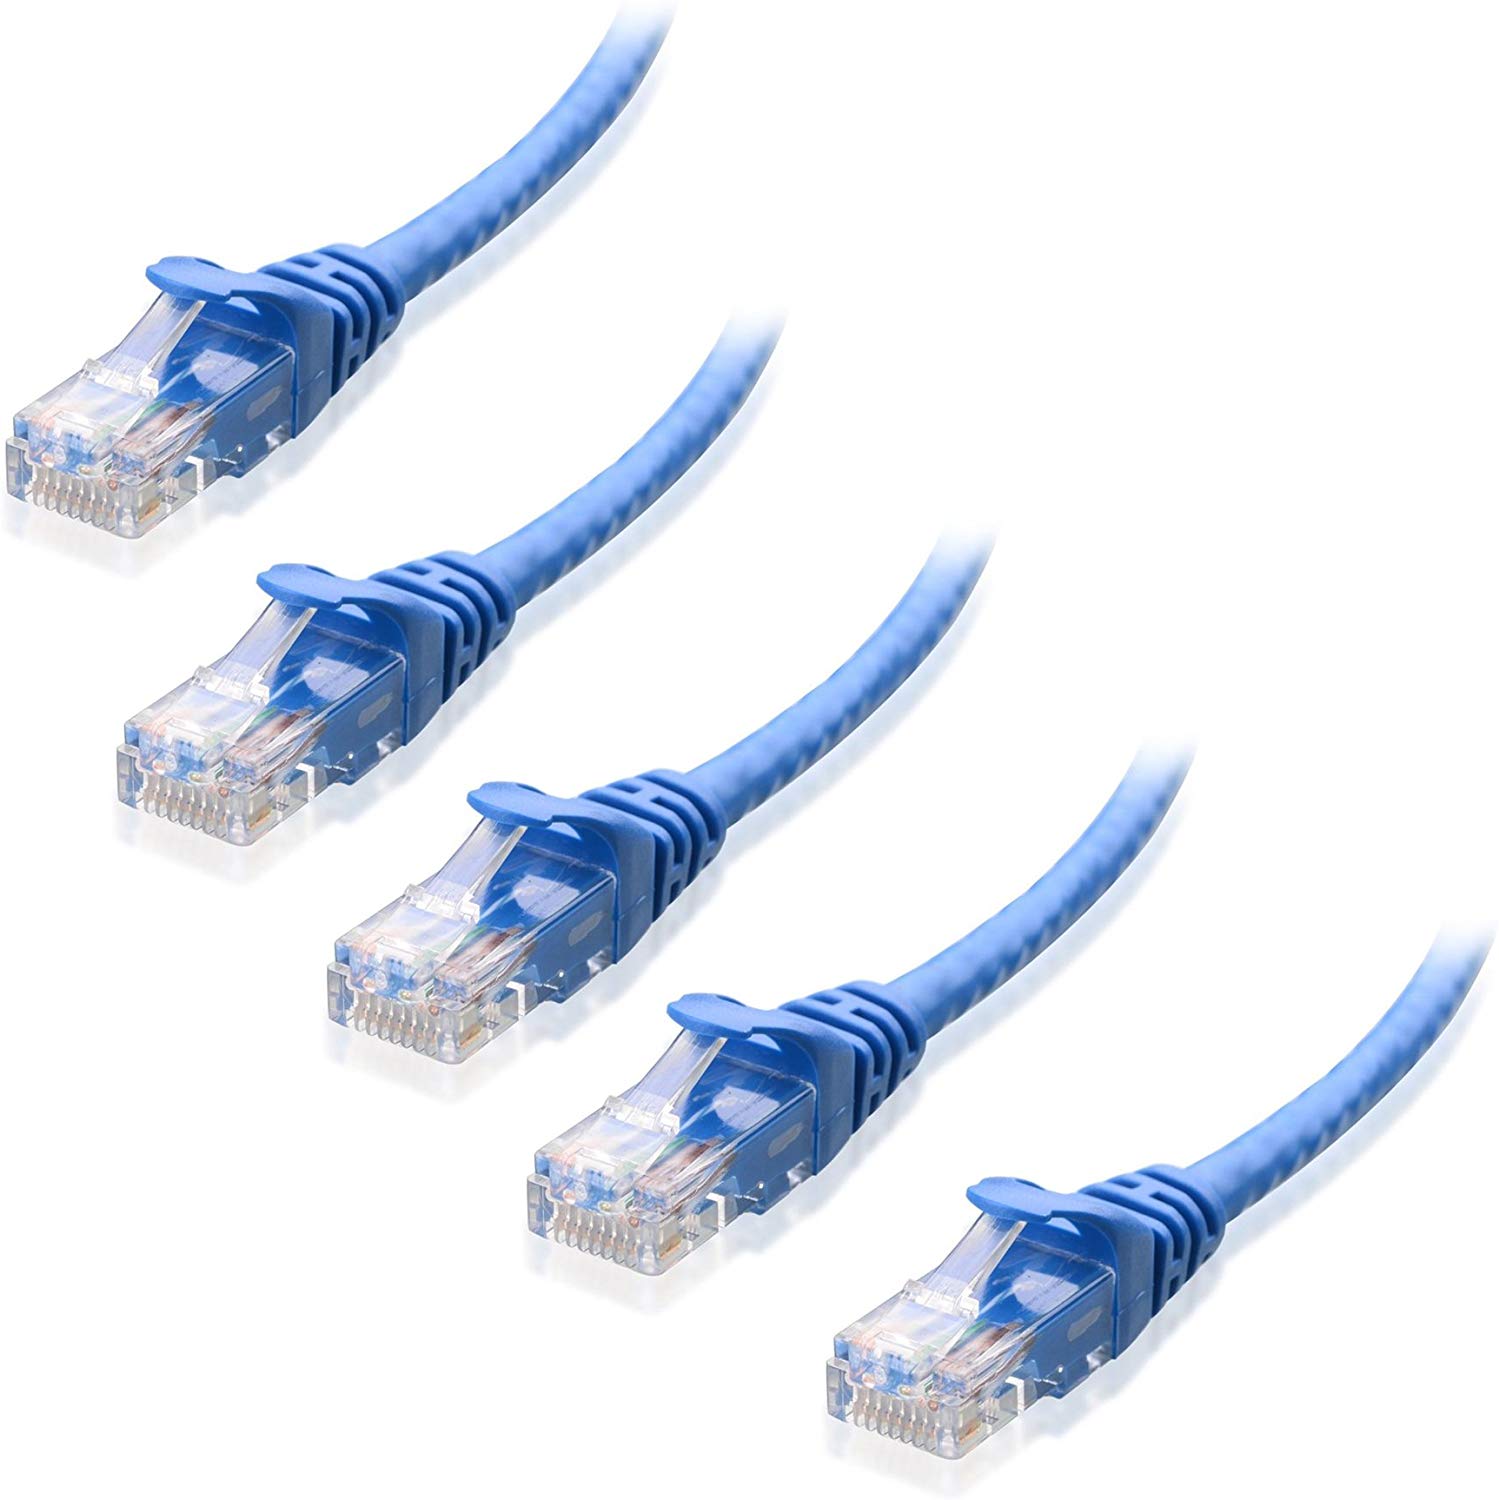
5-Pack Snagless Cat6 Ethernet Cable
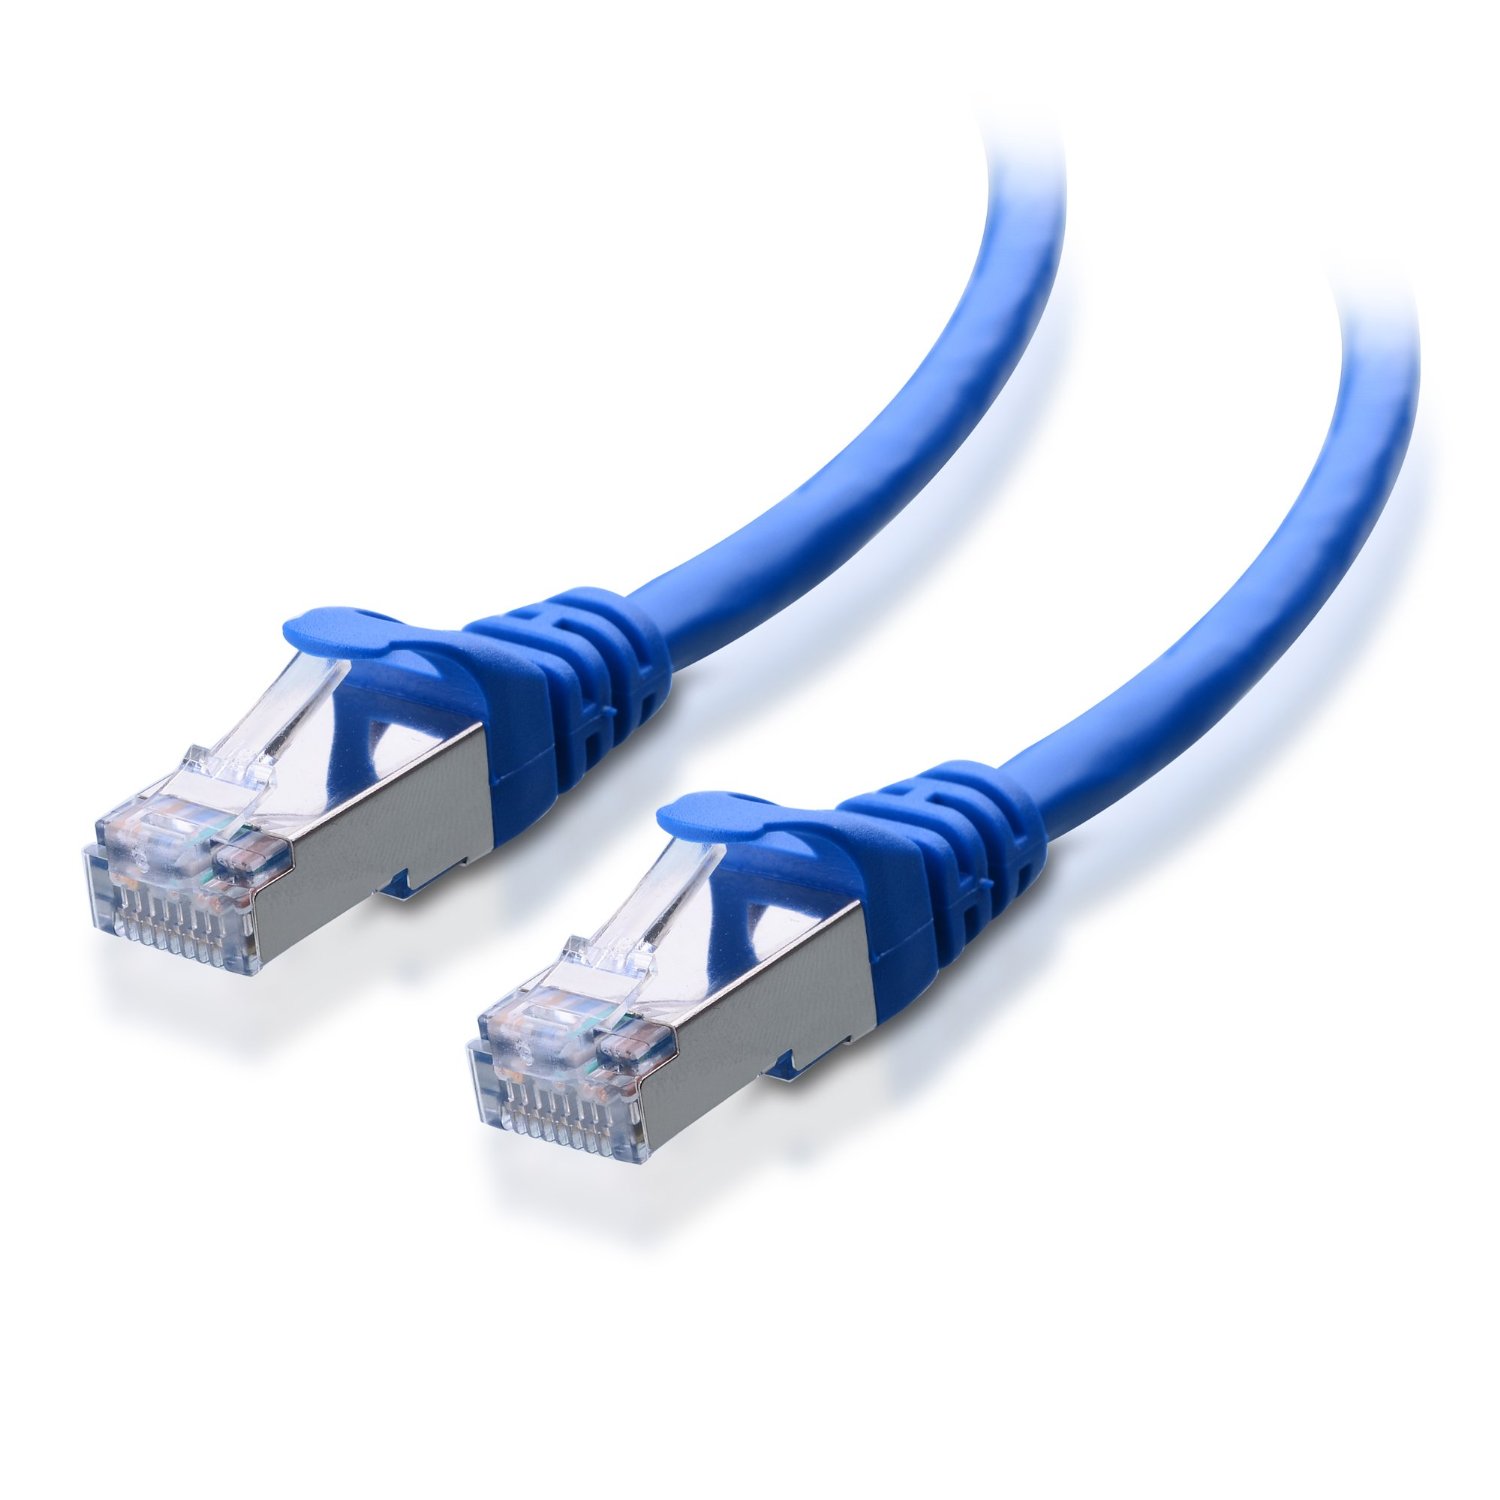
50-Foot Snagless Long Cat6A (SSTP, SFTP) Shielded Ethernet Cable
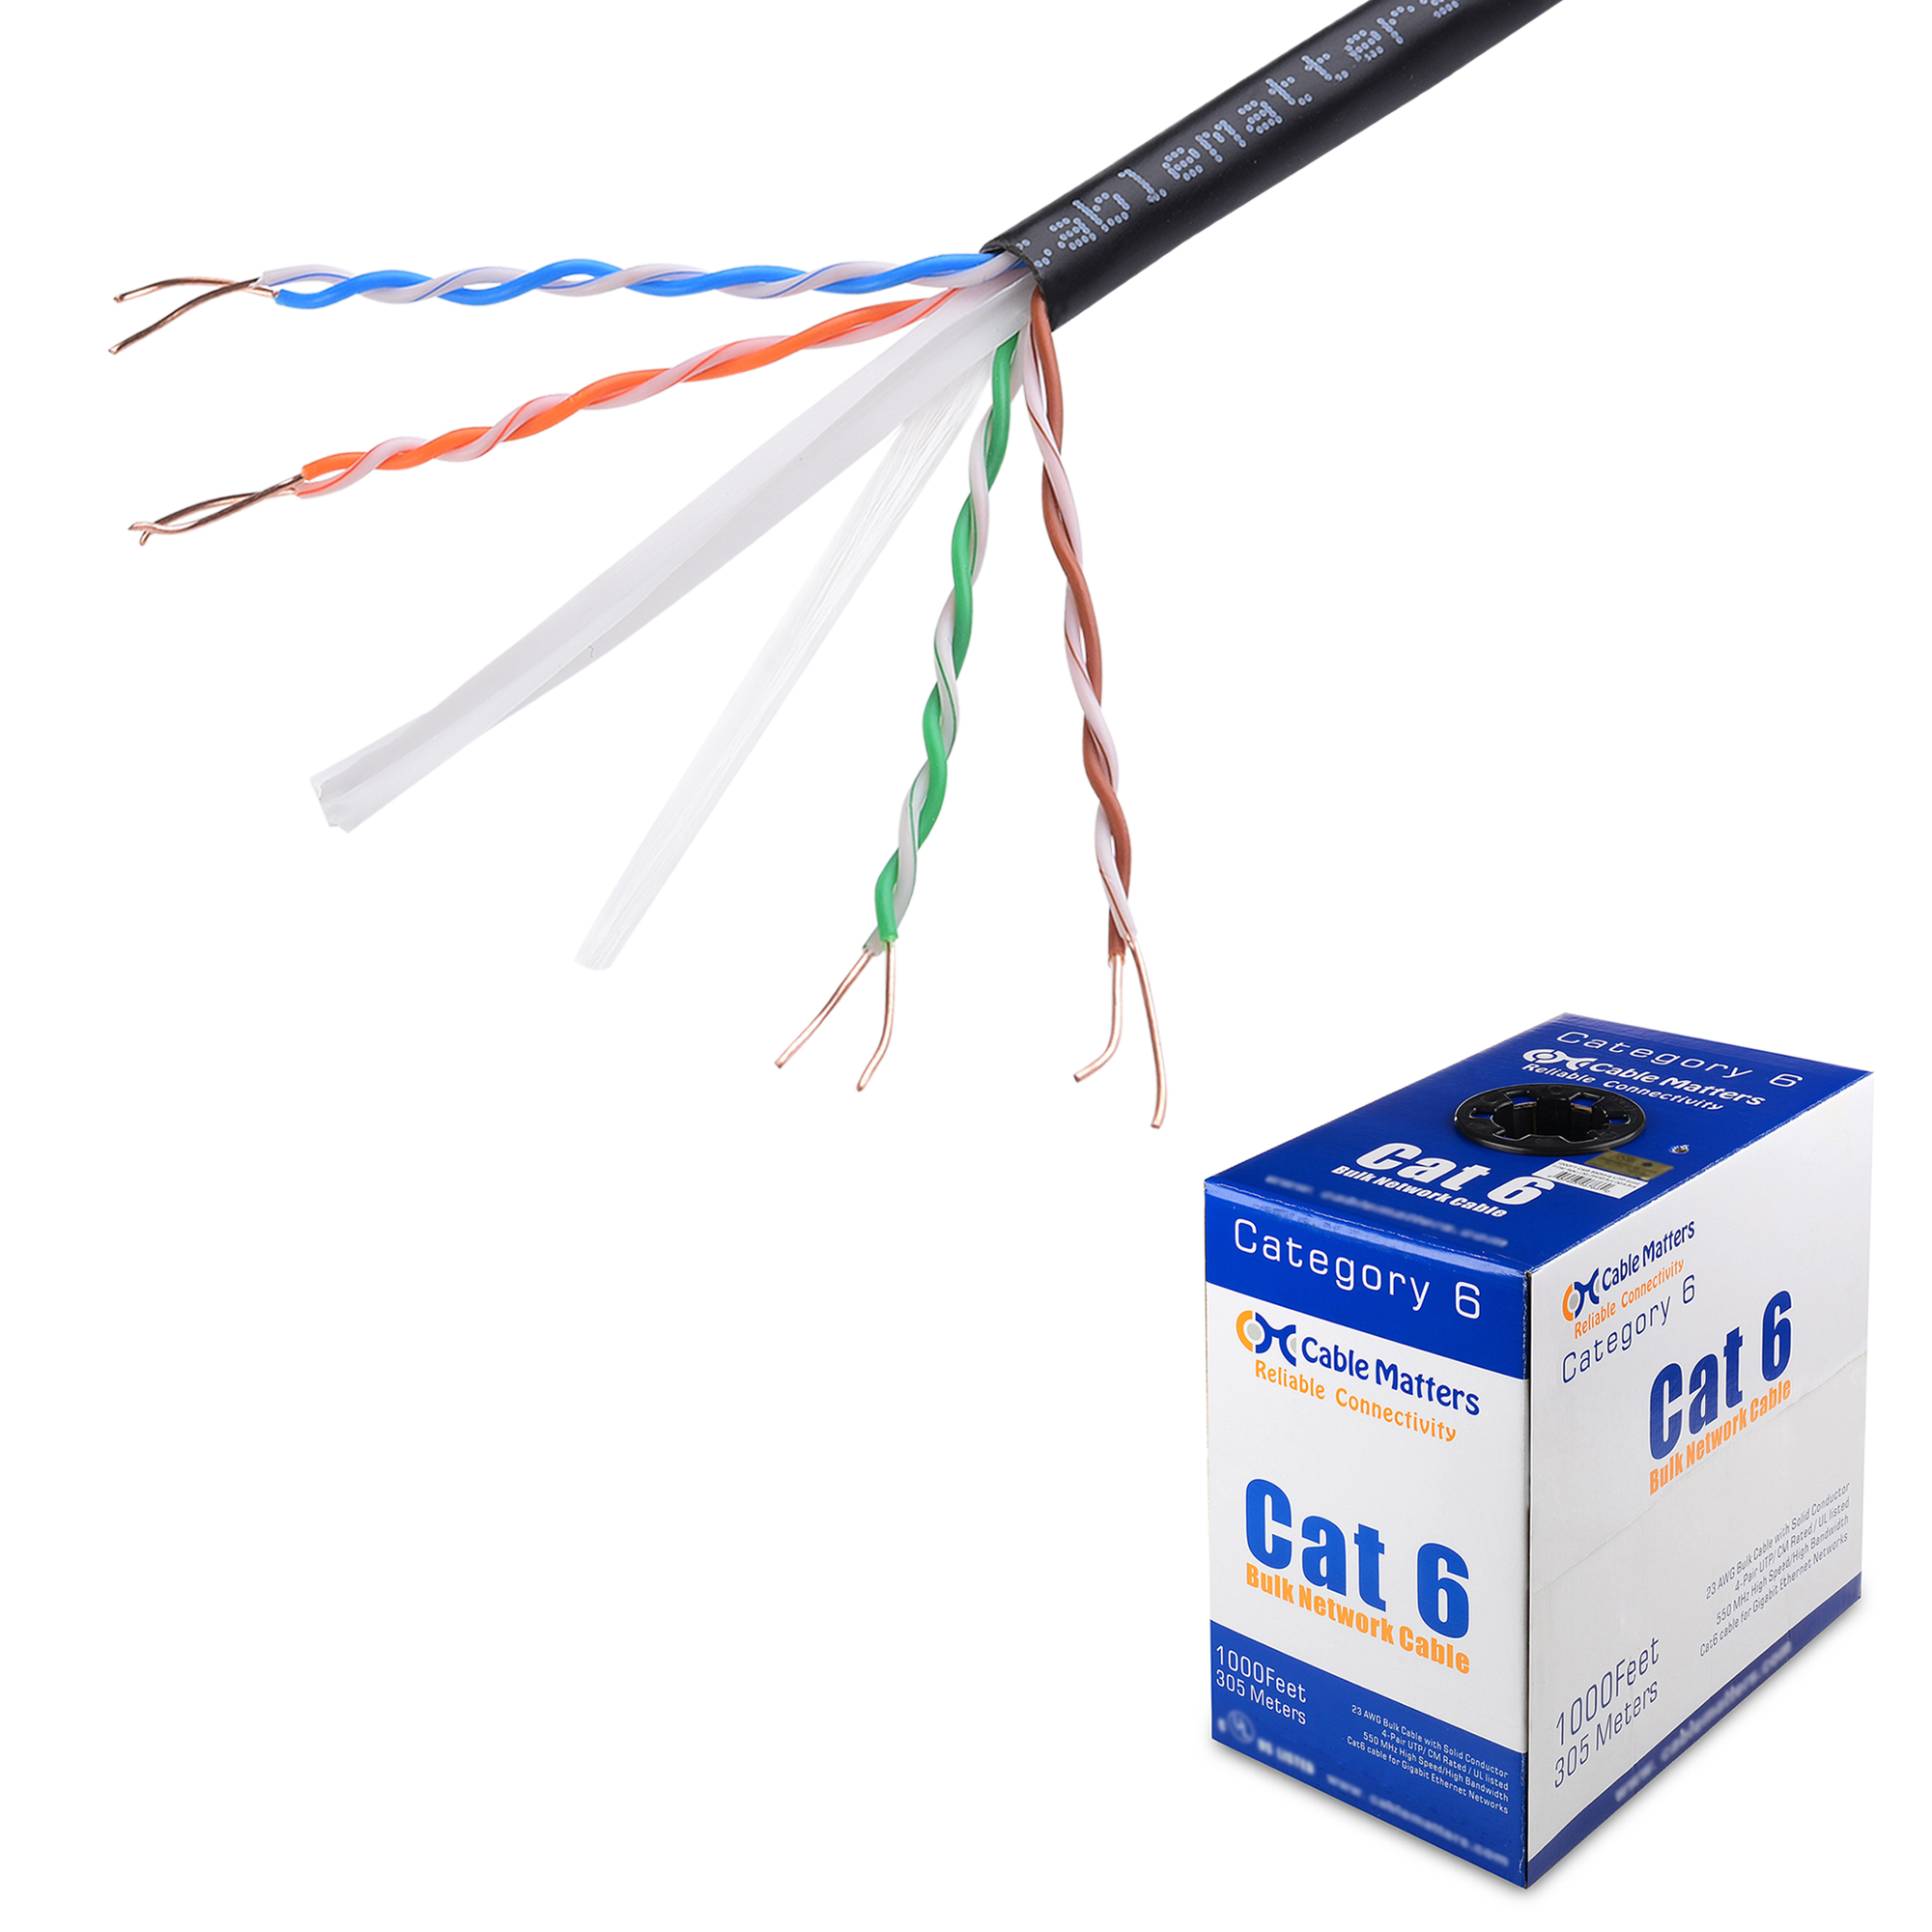
UL Listed in-Wall Rated Bare Copper Cat6 Bulk Cable
Here’s a guide on how to make your own Ethernet cables. Just don’t forget to buy a crimping tool.
If you don’t want to run Ethernet cables throughout your house but have difficulties getting a strong Wi-Fi signal, MoCA or powerline options may be better for your home network.
How to Set Up a Home Network
Once you have all the hardware required, it’s time to actually set up the network. The first step is setting up the modem you likely received from your ISP. Plug it in to the phone line and power it on.
If your original modem also acts as a router and you want to use your own, it can be worthwhile at this point to disable the modem’s router functions by setting it to bridge mode. To do that, you’ll need to login to its admin panel. You can find details for the IP address and how to connect to that in the manual, or by using the IPCONFIG command in Windows’ Command Prompt.
If the modem/router also has its own Wi-Fi connection, you can disable that access point in the Wi-Fi settings too – just make sure you’re connected to your new home network with an Ethernet cable before you do it, or you’ll lose connection.
At this point, power on your own router and connect it to the modem using an Ethernet cable. There should be a specific LAN port for the job, but if not, plug it into the first Ethernet port, labelled 0 or 1. Then plug whatever device you’re using to setup the router into the new router with an Ethernet cable of its own.
Login to the admin panel of the new router in the same way you did your original modem/router. It’s a good idea to change the default password to improve security, as they can sometimes be easy to guess or brute force hack. Consider changing the Wi-Fi password to something less generic, too.
It’s also a good idea to take this opportunity to update the firmware. You can download the latest firmware from the manufacturer’s website. This can further improve security and make sure the router is working to its fullest performance and potential.
When you eventually connect your individual devices to the router, you may want to use fixed IP addresses for devices that will remain on the network, or at least use it regularly. You can use dynamic IP addresses (DHCP), but they can change often, which can be problematic for some network connected devices like printers, and can make troubleshooting difficult if something goes wrong.
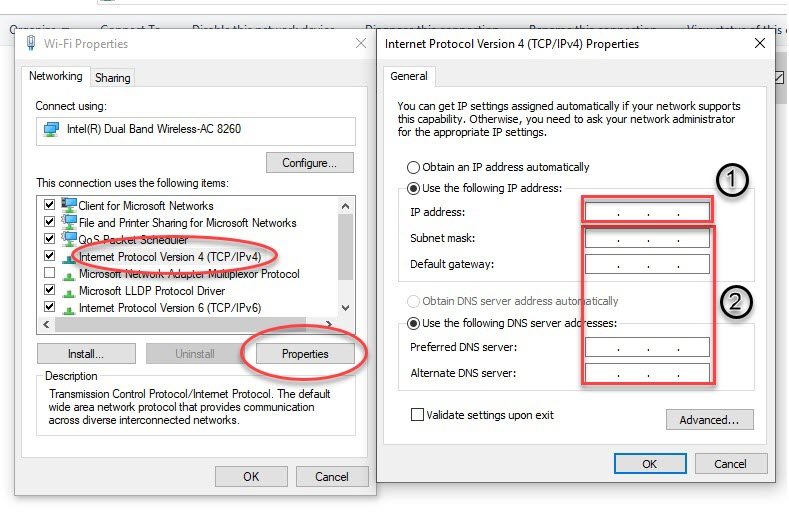
On devices you want to manually assign an IP address to, enter it in the device's IP address settings. In Windows, this is found by right-clicking the network connection and clicking Properties. You should match the subnet mask, default gateway, and DNS server settings with your router.
With that in mind, it can be a good idea to set a range for DHCP devices to make it easier to set specific fixed IP addresses within a range, helping to more easily identify which is which in the future. You can use the DHCP range setting to do that and then when you connect devices that you want a static IP for – network switches, access points, printers, desktop PCs – you can change their IP to static either on the device itself, or in the router admin settings.
If you plan to extend your network with Wi-Fi extensions, powerline or MoCA adapters, or network switches, plug them in now, and configure them using the instructions from the manufacturer. Once they’re set up, you can begin adding devices to the network either by plugging them into a free Ethernet port on the router/switch using an Ethernet cable – preferably Cat 5e, Cat 6, or Cat 6a,
This is a good time to test the range of your network, especially if there is anywhere in your home you expect to use wireless devices that may be susceptible to weak coverage and limited bandwidth. If that proves to be the case, consider some of the suggestions above for extending your network. If your router or Wi-Fi access points have external aerials, you can also try to angle them more effectively to improve coverage.
For those looking to improve their home network further, you may wish to change the default SSID of the Wi-Fi network in your router’s admin panel. This can further improve security and make it easier to find your network, particularly if you live in an apartment building where many other Wi-Fi networks may criss-cross coverage with your own.
It’s also a good idea to use a Wi-Fi network analyzer app – they can be downloaded free on Android and iOS devices – to look for the wireless channel with the least traffic. Switching your Wi-Fi to that channel can improve signal throughout your home and improve wireless home network performance.
Be sure to regularly update the firmware of all your network hardware and attached devices. That ensures your network stays secure and performing at its best.