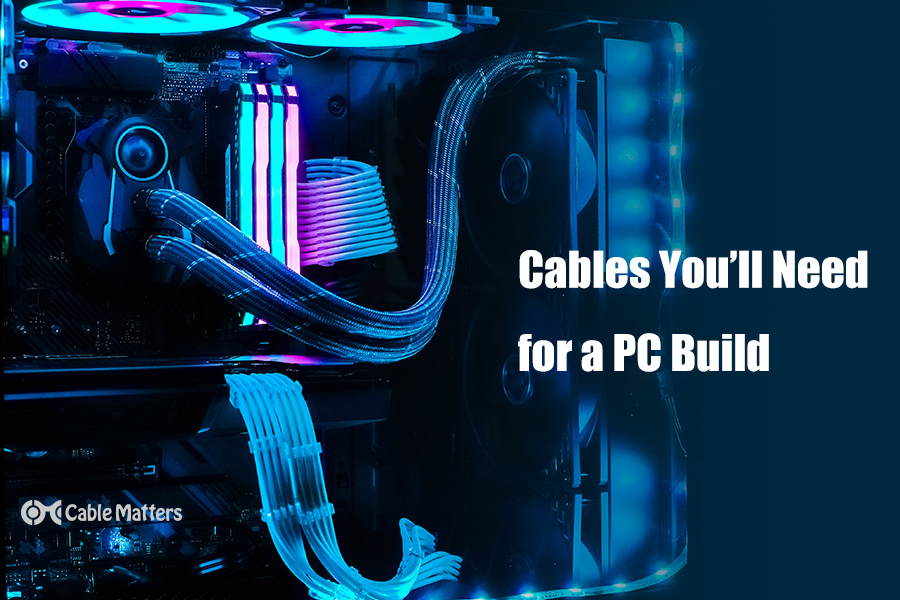
Building a new computer can be a very exciting time. It brings the promise of improved performance, new features, new looks, and new noise levels – but it all comes at a cost. A monetary one, but you also have to pay with your time and effort, as putting together a new computer, even for longtime hobbyists and professionals, can take some time and it takes a lot of know-how. You have to know how to put it all together, and if you want a clean-looking system, advanced cooling, or you’re building inside a small chassis, there are all sorts of extra considerations to take.
But that’s no excuse not to dive in and give it a go and indeed, with the right help, you can build your own computer without much trouble. Each component tends to only fit where it’s supposed to go, and as long as you take due care, de-charge yourself from static electricity periodically, don’t drop anything, and make sure you screw down your coolers properly, you shouldn’t run into too many problems.
One issue that affects even the most seasoned of PC builders though, is dealing with the cables. Whether you don’t have the right cables, not enough cables, cables that are too short, or aren’t color-coded to the rest of your beautiful PC; it’s easy to find yourself without the right cable to hand.
To make sure that doesn’t happen to you, here’s a complete guide to the PC build cables you’ll need to make your next upgrade exactly how you want. We cover everything, from PC power cables to storage drive data cables, video cables for your graphics card, and cables for your fans and coolers. We’ll even go over how best to manage all those haphazard wires to make your next PC look its best.
Here’s everything you need to know about PC build cables.
Power Cables
Arguably the most important cables in any computer, the power cables, ensure that every component has enough power to actually run. Fortunately, each power cable connector looks very different from the others, and most modern power supplies come with robust labeling, so you shouldn’t need to worry about plugging the wrong cable into the wrong component. Just make sure you plug them all in before booting.
Note: If you have a modular power supply, where you can plug in only the cables you need and nothing more, you need to make sure you’re plugging them in at the right end. Although most power supply manufacturers will ensure that the end that plugs into the component is distinct (and distinctly labeled) from the end that plugs into the power supply, it’s not always obvious. If in doubt, check twice, and check the manual.

Let’s start with the biggest and most obvious power cable of them all: the motherboard 24-pin (sometimes a 20+4 pin in older power supplies). If you can identify any power cable in the spaghetti collection you’re working with, it’s this one. It has the largest connector and the thickest cabling because there are a lot of wires to transfer all the necessary power to your motherboard. This plugs straight into the 24-pin connector on your board, typically located in the middle on the right-hand side.
It’s not the only power cable some motherboards need, though. You may also need to plug in 4-pin, 8-pin, or even dual 8-pin power cables at the top of the motherboard to provide additional power to the processor. These are usually labeled as "CPU" on most headers, but their distinct 4+4 pin connectors will usually tip you off about what they’re for.
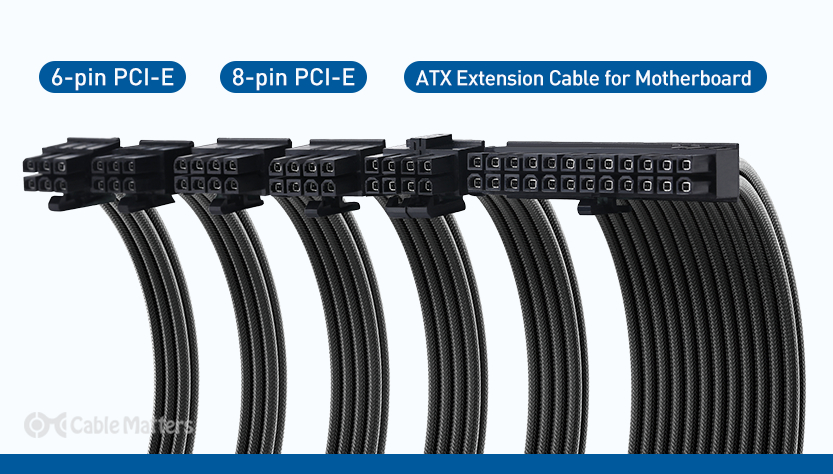
Next in line of importance, is your graphics card power, or PCI Express power cables. If you are building a PC without a dedicated graphics card you can skip this section, but for everyone else, your high-powered GPU needs more than the 75W of power the PCI Express slot can carry, so you’ll need to plug in some extra power cables.
For most graphics cards, this will be one, two, or three six or 8-pin PCI Express power connectors, although some recent-generation Nvidia graphics cards have used special 12 and 16-pin connectors. Your power supply should have the necessary cables, with "PCIe" written on them to denote what they’re for. However, if you find that you don’t have the right cables, or not enough of them for your graphics card, never fear; Your power supply or graphics card will come with appropriate power adapters to connect them.
When plugging in multiple six or eight-pin power cables, ideally use multiple cables, rather than the same cable with multiple headers. It takes the strain off individual power cables and spreads the load more evenly.
Also, be sure that when plugging in your graphics card power cables you seat them in all the way and ideally hear the audible "click" of them locking in place. There have been some reports with recent generation graphics cards – particularly very high-end models – of melting power adapters when they weren’t properly plugged in.
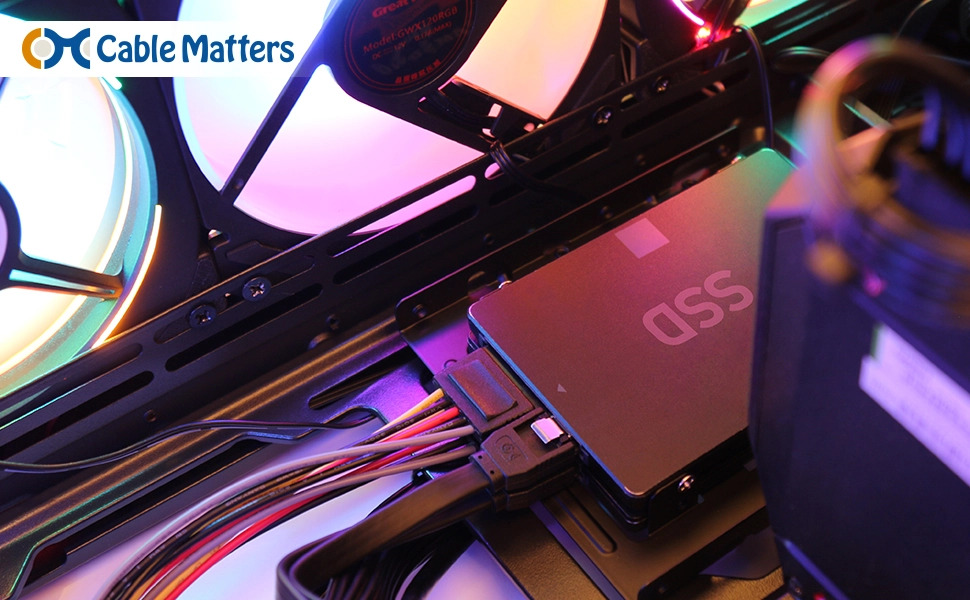
Modern NVMe and M.2 storage drives don’t need any external power, but if you have older SATA solid state drives (SSD) or hard drives (HDD), then you’ll need to plug in a SATA power cable for each of them. These have a long "L" shape connector, and there are usually several of them on each SATA power cable. Plug these in carefully, as the connector isn’t as strong as you’ll find on other power cables.
The last PC build cable regarding power you’re likely to run into, is a four-pin molex. These are antiquated and only really used for legacy devices and add-in cards, but you can still come across them from time to time and they’re great for using with adapters if you need additional PCIE or SATA power connectors. These four-pin cables can be fiddly, as the female jackets for the connector can lose cohesion easily, so if it feels like it won’t plug in properly, pull it out, adjust, and then try again – don’t force it.
Once all of your power cables are plugged in, your PC might look like a mess of braided spaghetti. You can leave it like that if you wish and your PC should run just fine, but many enthusiasts like to manage their cabling. For an aesthetically pleasing look, you can add sleeved power supply extension cables. This not only looks neater, but it makes it easier to conduct maintenance on your PC since it’ll be clearer where the cables go, and your components won’t be impeded by chunky power supply cables.
Additionally, running cables out of the way of the main thoroughfares in your PC will ensure that clean, cool air can get to all the components. Cables can impede airflow, which not only inhibits cooling performance but also increases air turbulence, which can increase noise levels.
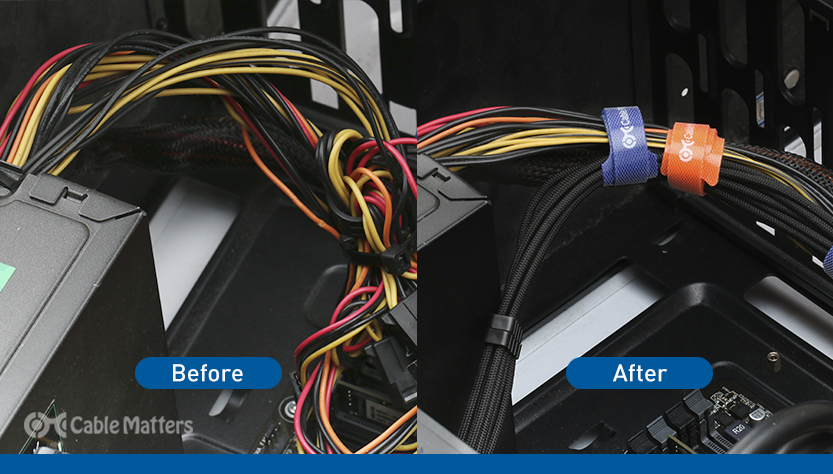
To avoid this, bundle your cables together with velcro zip ties, and push any slack cables into the corners and notches of your case to hide them away. Modern cases often come with cable ties or tidies you can use, with notches and holes on the case that provide ways to run the cables behind the motherboard tray, or at least point to tie them off with cable ties.
Data Cables
Just like some older storage drives need power cables, they also need data cables. SATA cables are slim, often-colored cables with a similar L-shaped connector on the end as the SATA power cables. You’ll need one of these for each of your SATA SSDs and hard drives, connecting them to the appropriate SATA port on your motherboard. Although these drives are becoming far less popular as NVMe SSDs come down in price, most motherboards and cases still support multiple drives of this type, so you shouldn’t have any trouble plugging yours in, no matter how many you need.
If you’re using any external storage drives, you’ll need a cable for that too – although they can combine power and data in a single connector. In the case of modern external SSDs, you’ll want to use a USB-C cable – ideally USB-C to USB-C to maximize data transfer speeds. Some drives will even support newer USB4 and Thunderbolt 4 connections. If that’s the case, using the appropriate cable will improve performance even further, though they’ll also be compatible with any standard USB-C cable.
Some peripherals like mice and keyboards have detachable cables, too, but those will come with the device in the box, so you needn’t be concerned about buying additional cables unless they need replacing.
Video Cables
Whether you’re running a high-end graphics card, or are just using the CPU’s onboard GPU to run your new PC build, you need a video cable to connect the computer to your monitor or other display. The most common types are HDMI, DisplayPort, and USB, with each offering unique features with a good reason to use them over the others.
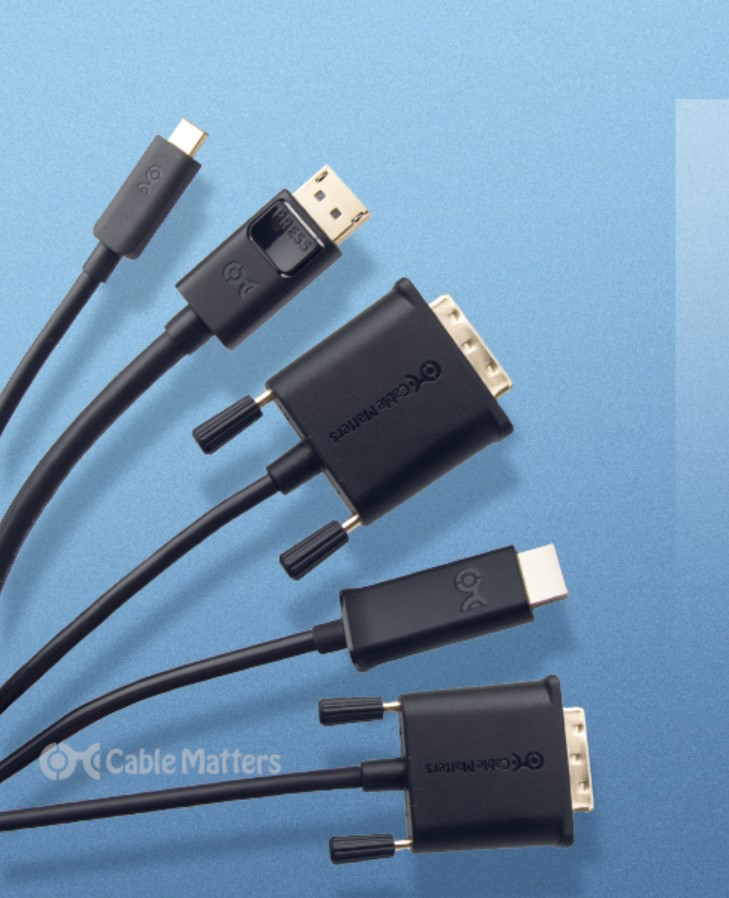
Most modern graphics cards support HDMI and DisplayPort, with some offering USB-C connections too. Some motherboards have the same connector options, though older and more budget-friendly offerings will simply have an HDMI output.
HDMI cables are the most commonly used connector for most living-room consumer gear, and it’s also a popular choice for connecting desktop computers to monitors. With HDMI 2.1, it has support for 4K resolution with a refresh rate of up to 120Hz, and if you’re using a monitor with audio it can handle that too.
DisplayPort is more often used in high-end gaming PCs because it offers the greatest performance with support for higher resolutions and refresh rates. Until the launch of HDMI 2.1, DisplayPort 1.4 easily outstripped all other options for connecting high-end displays, but since the launch of DisplayPort 2.0/2.1, DisplayPort is once again back on top. It can support up to 8K resolution at 165Hz, multiple 4K displays simultaneously, or a single one at up to 480Hz. It can even theoretically support a display that runs at 1080p resolution with a 900Hz refresh rate – although no displays exist that support either of these configurations.
The third option with some modern displays and PCs is USB-C – which can be USB 3.2 2x2, USB 4, or Thunderbolt 3 or 4. All offer support for HDMI and DisplayPort over USB, making it possible to use a single USB cable to deliver the video and audio to the display. In the case of laptops, this can also provide power to the laptop in some cases, charging it at the same time as outputting to the display.
Cable Management Tips
Keeping your cables neat and tidy, whether they’re inside your PC or on the outside, can have some real benefits. If you find yourself easily distracted, a tidy workspace is an important part of remaining focused and efficient, and tucking cables out of view can go a long way to helping that. When it comes to performing maintenance on your PC, too, like cleaning or upgrading hardware, having a PC that’s clean of cable clutter can make it much easier – it helps keep temperatures and noise levels low, too.
To that end, you want to plan your PC build cables around where you can tidy them away. Many cases have nooks and crannies you can shove excess cables in, while others have specific routes to run your cables through – particularly on the back of the motherboard tray. Alternatively, you can try to push the cables into the edges of the case, as that will often make them hard to spot once the side panel is on.
If you have large collections of cables that sit loosely together, you can make them behave more by pulling them together with a cable tie or velcro tie. These can sometimes be hooked into bespoke cable tidies in the case itself to lock them down to the frame. Look for these when tidying your cables for an easier time in managing them. You can also look in your case manual for any tips on where to tidy cables away.
For thicker collections of cables, you can also buy additional cable sleeves and tidies which will help corral them into position. For cooling setups with lots of fans, you can also buy fan controllers or fan splitter cables which let you manage several fans using a single cable, cutting down on unnecessary wiring in your PC.
.jpg)
Conclusion
The cables for a PC might be one of the most intimidating parts of building a computer, but they needn’t be. The power cables, data cables, and video cables, all plug into their respective ports, and almost nothing else – so you almost can’t go wrong if you take your time, read the manuals, and double-check before plugging anything in. Once you’ve done this a few times, PC build cables won’t seem complicated at all.
Just make sure to run any internal cables along the sides of your case and tuck away any cables that you don’t need. This can help improve airflow which cuts down on noise and helps your PC perform its best by keeping it cool. Outside your PC, tucking away monitor and accessory cables can make your workspace feel cleaner and more focused, too – great for home office users.
Above all, though, try to have fun! Building a computer can be a demanding task, but it’s a rewarding one, and one that will teach you a lot about the machine that you spend so much time using. Good luck!